


Document Actions
gvSIG-Desktop 1.1. Manual de usuario.
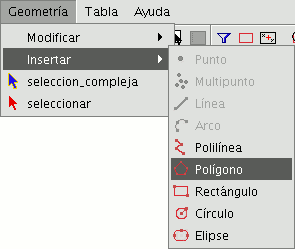
This option allows you to draw regular polygons which will be handled as a closed polyline. As usual, there are three ways of activating the polygon command. You can select this tool by going to the tool bar and clicking on the "Polygon" button.

The second option way of activating the tool is by going to the “Geometry” menu bar then to “Insert” and “Polygon”.
To graphically insert a polygon in the drawing, select the tool and then click inside the graphic area on the place you which to position the polygon’s central point.
The application will generate a projection of the object. Move the mouse using the polygon projection as a reference point until it is the size you require, and click on the graphic area once again.
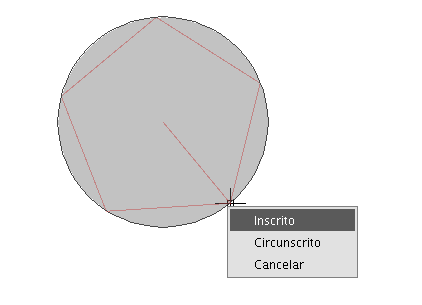
You can tell gvSIG if you wish the polygon you are drawing to be defined as inscribed or circumscribed in the circle. By default, the polygon will be inscribed in the circle. To modify this setting, define the central point of the polygon, right click on the mouse to open the contextual menu and select the desired option.
gvSIG also allows you to modify the number of sides you wish the polygon you are editing to have. To do so, select the polygon object and input the number of sides in the command console.
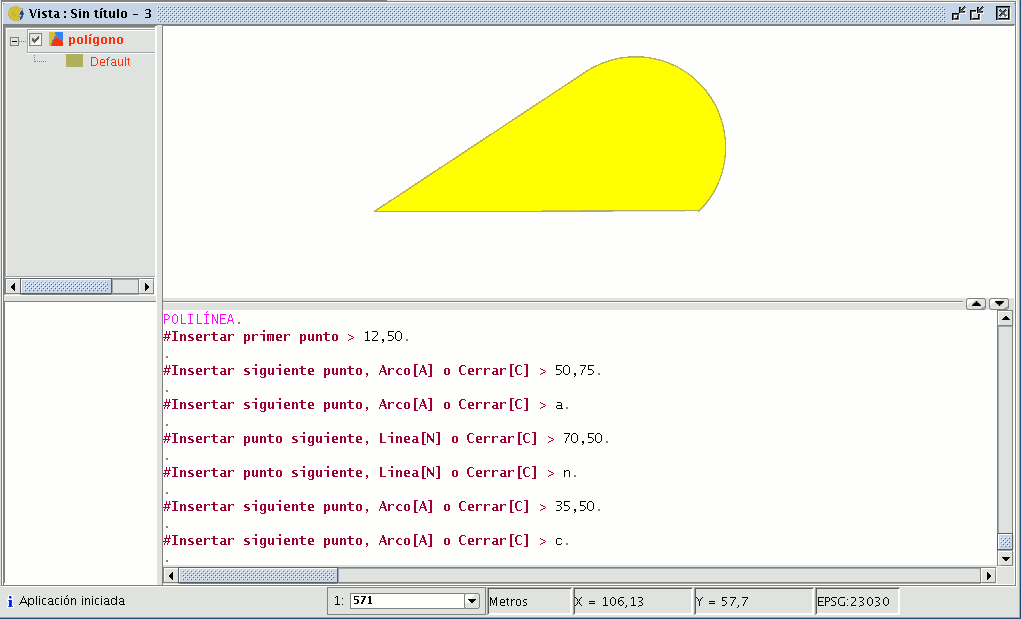
The third way to select this tool is from the command console. To draw a polygon from the command console, write the command “polygon”, specify the number of sides you wish the polygon to have, whether it should be drawn as inscribed or circumscribed (“I” or “C” respectively), and finally insert the radius, which must be delimited by indicating its length in the units in which the view is defined.


